Concrete Mixer Pump Maintenance | A Practical Checklist
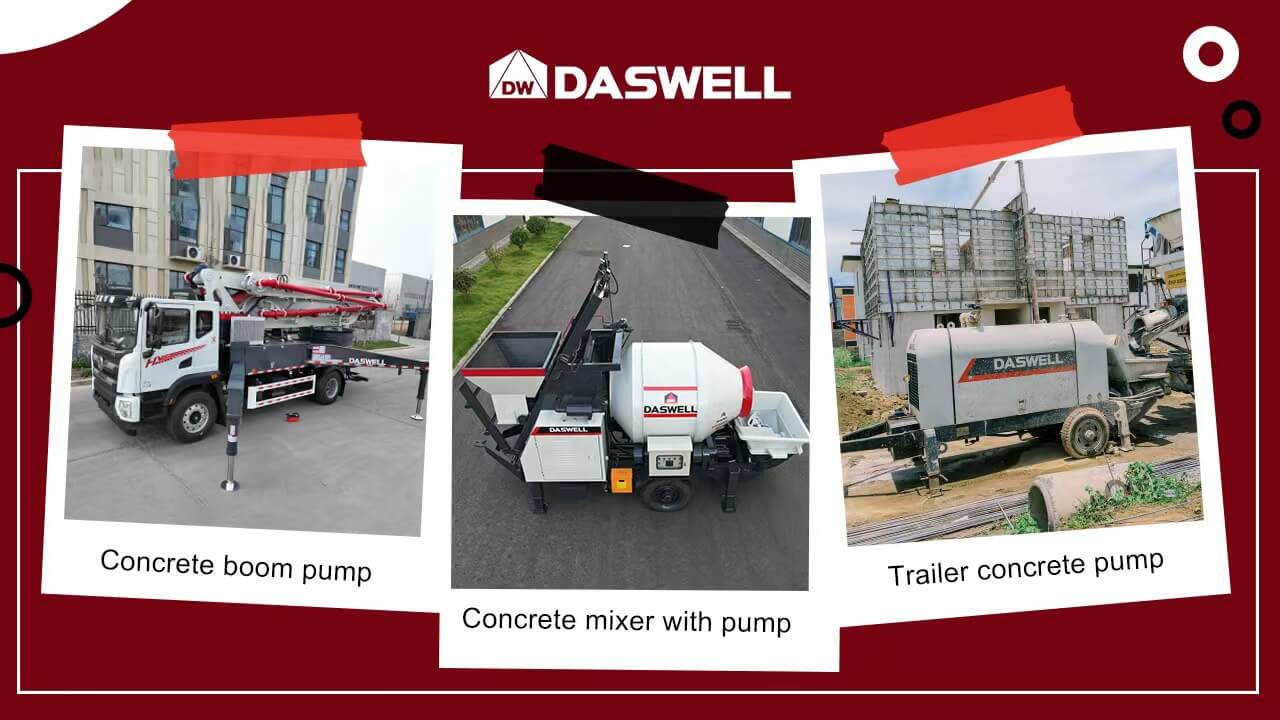
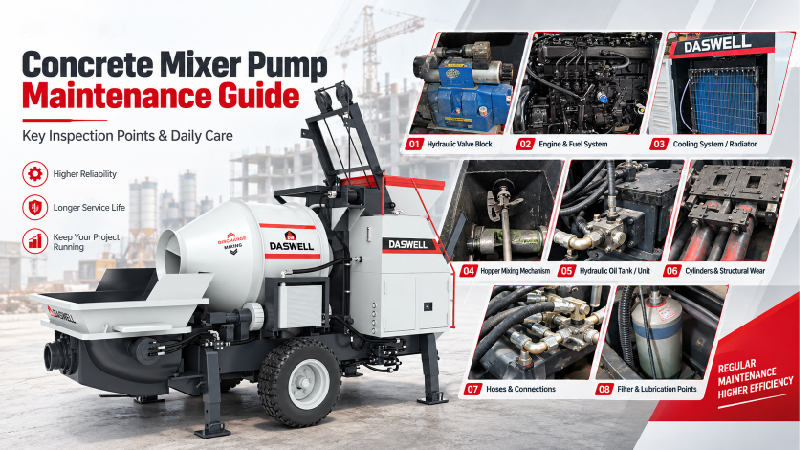
A concrete mixer pump combines mixing and pumping in one machine, providing high construction efficiency. However, its hopper, mixing system, delivery cylinders, S-valve, pumping pipes, and hydraulic system are all subject to continuous impact and wear. The most common shutdowns on construction sites are often caused by incomplete cleaning, insufficient lubrication, loose connections, or wear parts that continue operating with existing problems.
The key points of concrete mixer pump maintenance are not complicated. The following checklist can be used for daily equipment management.
Why Is Regular Concrete Mixer Pump Maintenance Necessary?
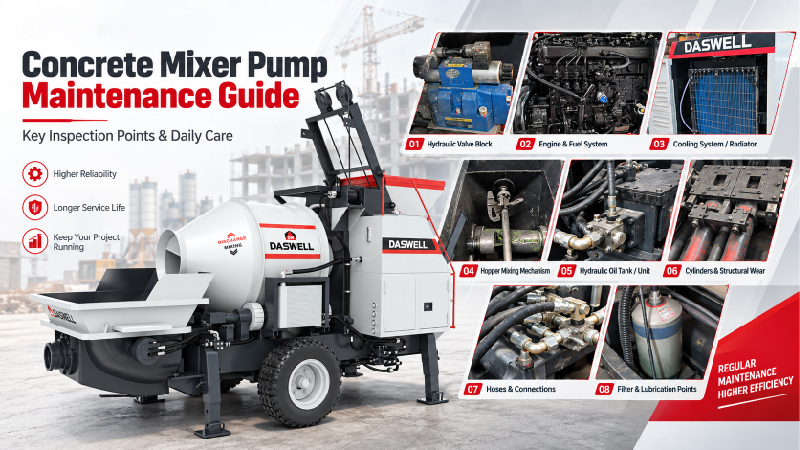
The hydraulic components of a concrete mixer pump are sensitive to oil cleanliness and operating temperature.
The mixing blades, mixing shaft, spectacle plate, cutting ring, and S-valve remain in contact with aggregate and high-pressure concrete for long periods, so they will also wear gradually.
Small problems such as leakage, unusual noise, rising temperature, increased clearance, and thinning pipe walls should be dealt with in time.
Concrete Mixer Pump Maintenance Checks Before Starting
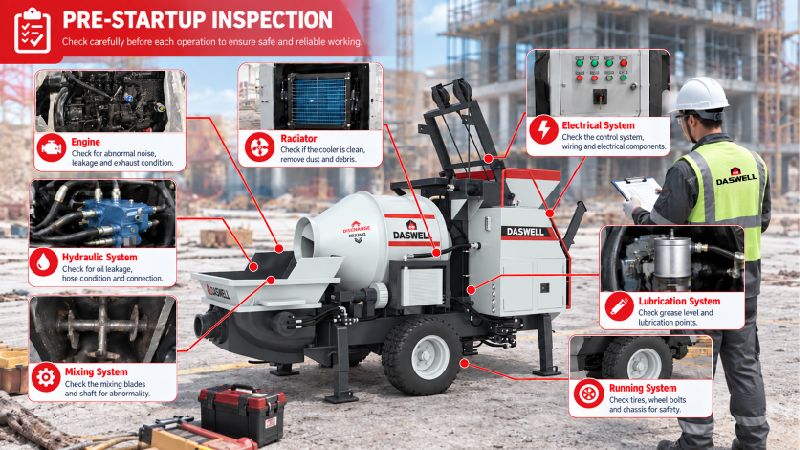
- Hydraulic oil: Check the oil level after the machine has been parked on level ground and the system pressure has been released. Check whether the oil is emulsified, darkened, has an unusual smell, or contains visible impurities.
- Power and electrical system: For a diesel-powered model, check the fuel, engine oil, coolant, and battery. For an electric model, check the supply voltage, phase sequence, grounding, and wiring terminals.
- Pumping pipes and connections: Check the pipe clamps, flanges, sealing rings, and support points along the pipeline.
- Hopper and mixing system: Remove hardened concrete and foreign materials from the hopper and mixing area. Check the mixing blades, mixing shaft, and safety grille.
- Lubrication system: Check the grease supply or automatic lubrication system.
- Safety functions: Test the emergency stop button, hopper safety interlock, and any necessary limit functions.
Concrete Pump Maintenance During Operation
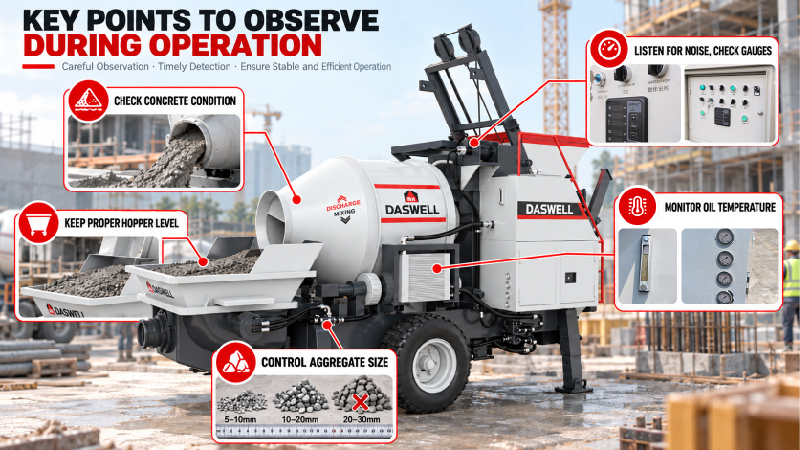
- Listen for unusual sounds and watch the gauges: Pay attention to any unusual noise from the hydraulic pump, mixing system, or reversing action.
- Control the oil temperature: Monitor the hydraulic oil temperature and cooling system.
- Check the condition of the concrete: The concrete must have a mix proportion, workability, and slump suitable for pumping.
- Control the aggregate size: The maximum aggregate size is limited by the delivery cylinders, S-valve, pipe diameter, mix proportion, and machine model.
- Maintain the material level in the hopper: Do not allow the hopper to run empty during pumping, as air may enter the delivery system.
Concrete Mixer Pump Cleaning and Maintenance After Work
- Clean the hopper and mixing area promptly: Complete the cleaning before the concrete begins to set.
- Clean the pumping pipes as required: Depending on the equipment configuration and site conditions, water, sponge balls, or other methods approved by the manufacturer may be used.
- Check the wear parts: Inspect the S-valve, spectacle plate, cutting ring, piston, seals, and pumping pipes for unusual wear, cracks, or leakage.
- Check for leakage and loose connections: Hydraulic oil, grease, or slurry leaks are easier to find after cleaning.
- Shut down the machine correctly: Unload the system according to the operating manual. Do not allow the pumping system to run empty for a long time.
Concrete Pump Maintenance Checklist
The intervals below are for reference only. Under high-temperature, dusty, continuous-operation, or highly abrasive aggregate conditions, the inspection intervals should be shortened as appropriate.
| Maintenance item | Reference frequency | Key inspection points | Action required |
|---|---|---|---|
| Hydraulic oil | Check daily; replace according to the manual | Oil level, temperature, emulsification, contamination, and unusual smell | Use the specified oil grade; identify the cause if contamination occurs |
| Hydraulic filter elements | According to the manual or blockage indicator | Condition of the suction, return, and high-pressure filter elements | Use compatible filter elements; do not select them based only on a general micron rating |
| Hydraulic hoses | Inspect every shift; check carefully every month | Oil leakage, cracks, bulges, abrasion, and loose connections | Replace damaged hoses promptly; never touch a leaking point while the system is pressurized |
| Lubrication system | Every shift or according to the manual | Grease level, lubrication lines, and grease supply at each lubrication point | Add the specified grease after cleaning |
| Mixing blades and shaft | Inspect weekly; measure monthly | Wear, deformation, clearance, and fasteners | Adjust or replace them according to the wear limits |
| S-valve and wear parts | Inspect every shift; measure regularly | Spectacle plate, cutting ring, seals, and swing clearance | Adjust or replace them before they reach the wear limits |
| Pumping pipes and elbows | Visual inspection every shift; measure wall thickness regularly | Dents, cracks, slurry leakage, and remaining wall thickness | Replace them according to the rated pressure and rejection criteria |
| Electrical system and safety devices | Monthly; immediately if an abnormal condition occurs | Emergency stop, interlock, grounding, cables, and terminals | Disconnect the power before maintenance; do not operate the machine if a safety function has failed |
| Machine fasteners | Recheck after the first shift; inspect regularly afterwards | Connections on the pump body, hopper, outriggers, and pipeline supports | Tighten them to the specified torque |
Concrete Mixer Pump Problems and Troubleshooting
▸Poor Delivery or Continuously Rising Pressure
First, stop increasing the pressure. Check the material level in the hopper and determine whether the concrete has segregated or lost water. Then check the aggregate size, the number of pipeline elbows, and the condition of the flexible hose.
▸Excessive Hydraulic Oil Temperature
Check the cleanliness of the radiator, the cooling fan, the oil level, the condition of the hydraulic oil, and whether the hydraulic system has remained in overflow for a long time.
Do not spray cold water directly onto hot hydraulic components. Do not continue operating the machine while the problem remains unresolved.
▸Lower Mixing Speed or Pumping Efficiency
Check the condition of the concrete, wear on the mixing blades, hydraulic pressure and flow, filter blockage, and the clearance between the spectacle plate and cutting ring.
▸Leakage at Pipeline Connections
After stopping the machine and releasing the pressure, check the sealing ring, pipe clamp, flange, and pipe end for wear.
Keep Concrete Mixer Pump Maintenance Records
Continuous records make it possible to see how quickly the parts are wearing. They also make it easier to prepare concrete mixer pump parts in advance, instead of waiting until the machine stops before making an urgent purchase.
Daily concrete pump maintenance can be summarized in three steps: inspect the machine carefully before each start, pay attention to abnormalities during operation, and clean it promptly after work. Combined with regular maintenance carried out according to the manual, these steps can significantly reduce the risk of shutdowns caused by pipe blockages, pipe bursts, and hydraulic failures.
The Daswell team can provide maintenance advice and spare parts support for the concrete mixer pumps you purchase.